
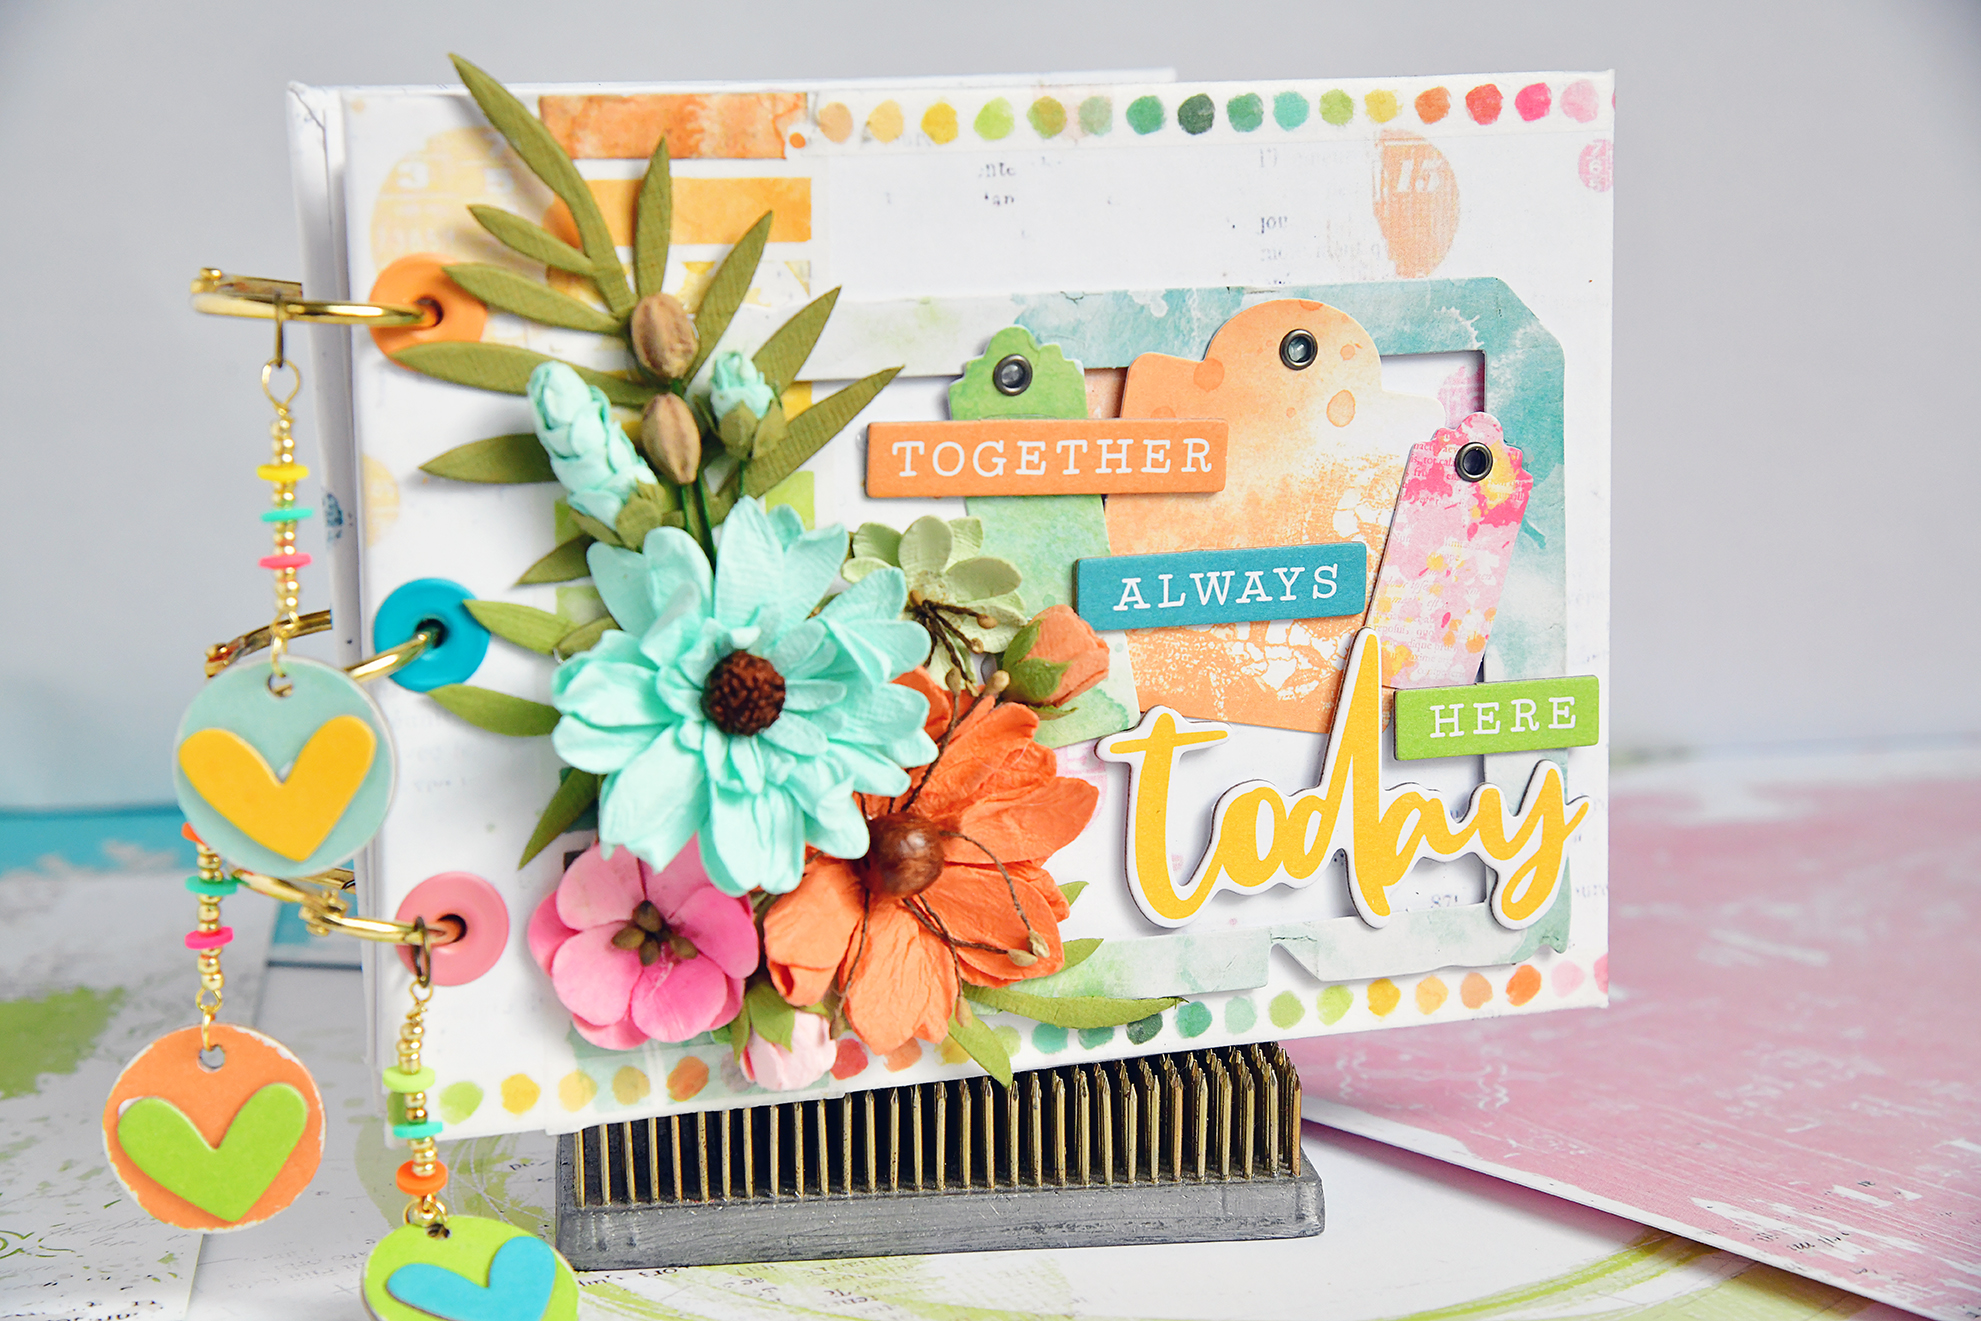
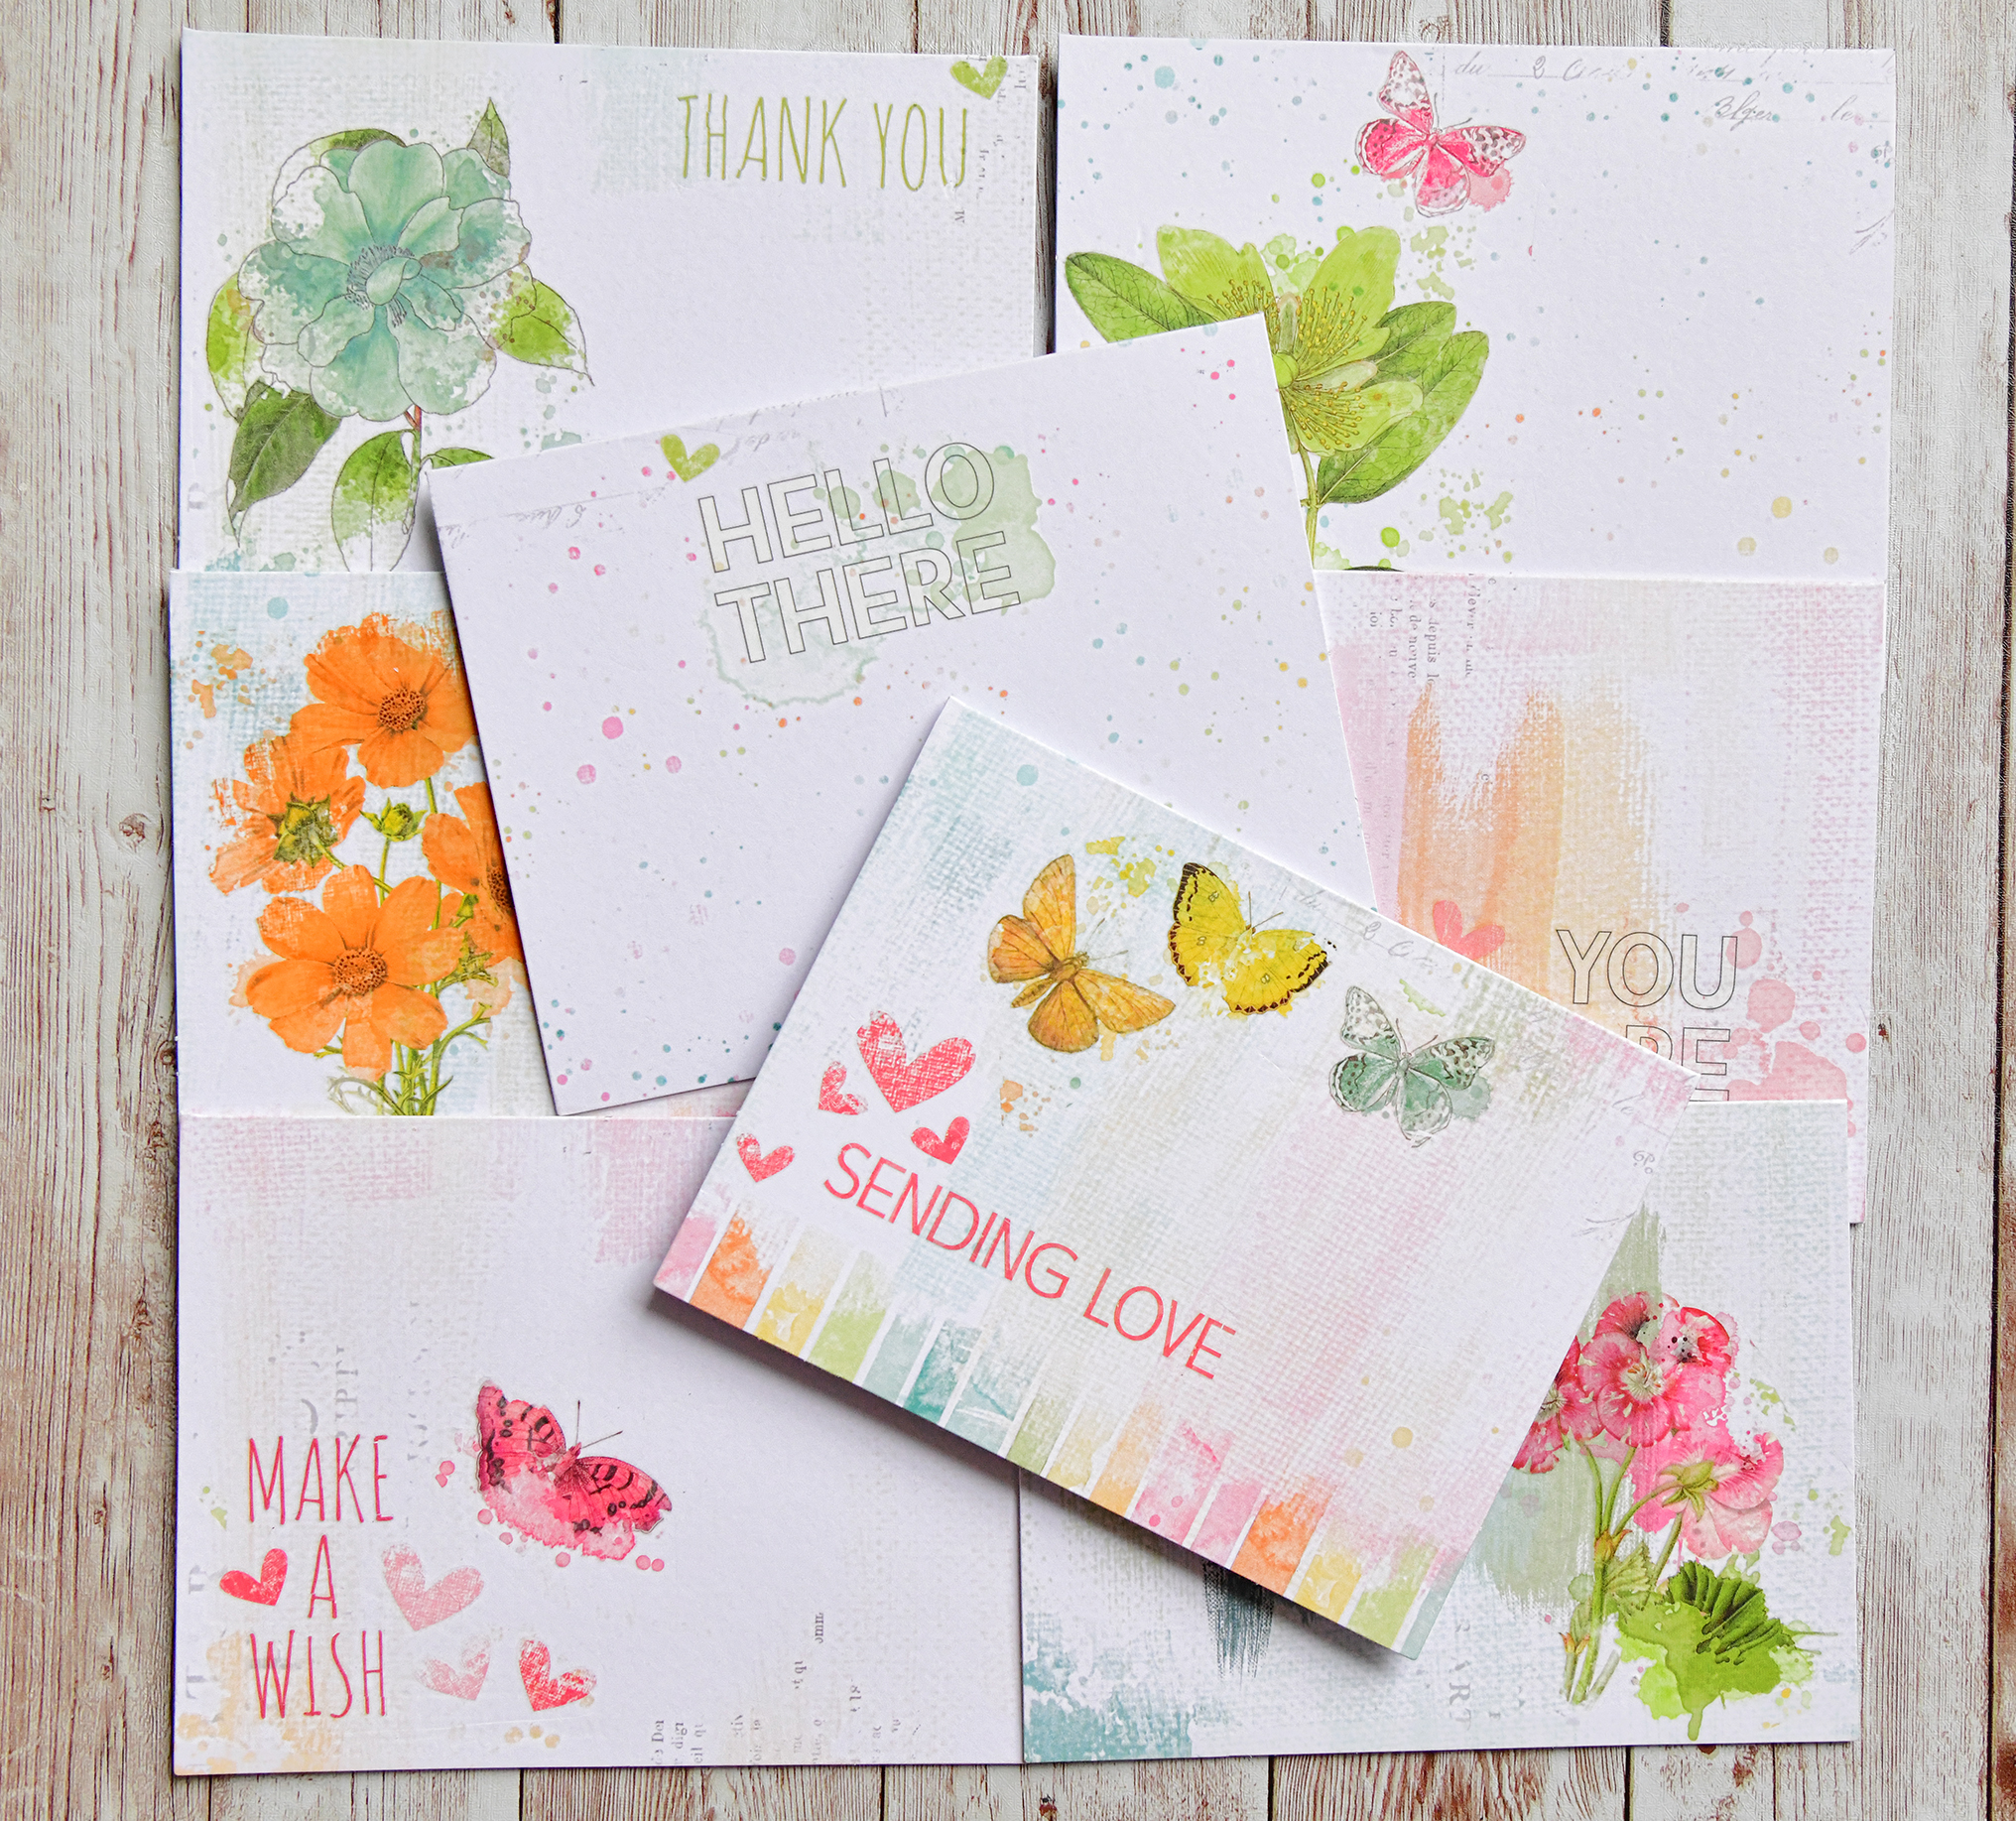
The new 49 and Market Spectrum/Sherbet Card Kit isn't just for making cards!! I'll show you step by step, how I created this Mini album using the kit and its contents. With just a few extra items, you can create this awesome keepsake, that can be used for photos, journaling or just for fun.

Here is your step by step tutorial on how I created this mini album. To complete it as I did, you will need the following.
3 one inch book rings
2 pieces of 5 x 6 3/4 heavy chip board
6 wide eye eyelets (I used We R Memory Keepers)
Flowers and Embellishments of your choice. There are so many collections in the Spectrum/Sherbet collection. I used chipboard pieces, tags, washi tape and Frames from the collection.
A few sheets of 12x12 Spectrum/Sherbet paper
A border punch (I used Fiskars border punch Apron Lace)
Score Tape (or any brand 2 sided tape)
*********************************************************************************
To prepare for the album, I put all 8 envelopes in the Card Kit together. You could also fold the cards, and set the cards aside.


This is optional, but you can use a decorative border punch to punch the edges on both of the long sides.

This is what they will look like when they are all done. I will refer to them as hinges.


Now prepare your front and back covers. place double sided tape to the insides of the 2 pieces of chipboard as shown.


We are going to wrap the chipboard with card stock. Cut 2 pieces of 7 x 8 3/4 inch paper you want for the front and the back covers. Place your chipboard adhesive side down onto your paper leaving 1 inch paper all around. Miter the corners by cutting off paper at a 45 degree angle leaving a small space on the corners. Do not cut up against the corners. Place double sided tape on the flaps of the paper.

Starting on the short ends wrap your paper around the chipboard, then do the long ends. Now your chip board is neatly wrapped.


Now punch holes through the flaps on the envelope so that they match the front and back cover. Be careful not to punch on the envelope itself. You wont be able to slip the card inside.


I chose to use the rub-ons included in the card kit. They are absolutely beautiful!!
Tuck the cards into the envelopes, Decorate the cover as you want, and call your envelope mini album finished!!
You can visit my post for the finished mini and more details HERE.

Bravo c’est magnifique Lisa
ReplyDeleteMarie Sabatier
ReplyDelete