Thursday, February 27, 2014

A Secret Revealed. HeART & SOUL...

http://www.thecolorrooms.com/designers.html

 Well my secret is revealed. I am a Design Team Member for HeART & SOUL!!!! Lydell Quin and Cynthia Llorens have joined forces. The Color Room and Scrap For Help have merged to create this wonderful new site with challenges and palettes that will rock your color world!!! I am proud and excited to be a part of this absolutely fabulous Design Team. Come and meet the rest of the artists right HERE.

The March  Palette #166 is the palette I worked on this month. The colors are yummy and remind me of summer sherbert!! The twist is to use JUNK MAIL incorporated into your project. You know, the stuff that clogs your mailbox day after day and you just toss because it is junk!! Well I turned some of that junk to absolute treasure!! And you can too!.

  This layout started with a piece of cream card stock. I am lucky to be on the Splash Of Color Design Team. I used most of my Splash Of Color Product to match my color palette. The photo is my son and daughter in law Ashley. They have been together since 9th grade, got married 2 years after High school graduation, and will be celebrating 8 years of blissful marriage this year.


The piece of junk mail I used were 2 huge Kraft type paper envelopes that a couple of my husbands catalogs came in. I opened up the envelope packages, cut them down to size and then I die cut the flowers using Sizzix Tim Holtz Tattered Florals die and then painted them by mixing my own paints. I mixed up some paints using my Splash Of Color Products. The paper was thick and perfect and held up beautifully to LuminArte's  Primary Elements Artist Pigments. mixed with clear glaze medium to create a gorgeous shimmery paint. I layered the flowers, placed some stamen in the middle and crunched them up for texture. The leaves are an old Sizzix die I have in my stash.I colored the leaves with Splash Of Color Viva Colour Inka Gold Metallic rub in green.


 You can see the underside of some of the petals on the flowers. This envelope paper had a very slight sheen to it and the color did not bleed through and fade out. It held the paint beautifully!! I also used one of the return post cards inside one of the catalogs that came in the envelopes. I did some machine sewing around it and inked it lightly.


The background paper was painted with Splash Of Color LuminArte Silks Acrylic Glaze and Primary Elements Artist Pigments. I watered them down pretty good with some gel medium and water, and created the colors for my background paper.


I also used some Crafters Workshop and Prima Stencils  on the background as well.


I used a metallic gel pen to create my journaling.


 Thank you for stopping by to see my new creation. And be sure to check out HeART & SOUL month after month for new color palettes and wonderful challenges using recyclable materials!! You can help save the world in a beautiful way!!! xoxo

Wednesday, February 19, 2014

Life of A Chef Recipe Files *** Bo Bunny Design Team Project***

I am so happy and honored to be on the Bo Bunny Design Team. The projects that we are given to create, make me work outside of the box and it gives me new inspiration to create wonderful keepsakes. When I was given all of the contents to the Misc. Me line, I worried that I would not be able to produce something wonderful as I am mainly a 12 x 12 layout scrapper. But when I started thumbing through each package, my imagination was sparked to create a keepsake for my daughter. One that she can document her way through culinary school. From the day she left home, to the current time as she is working as a Chef at an exclusive resort. Here are the first 3 page sets that are in the album. 


My daughter is working her way through the culinary world as a chef. Something that is difficult to do as a female in a male dominated field. Especially because she is only 22 years old. So I decided to use Misc Me to chronicle her triumphs and tribulations. The first hurdle was to graduate from the prestigious  Le Cordon Bleu School of Culinary Arts. Misc Me is a perfect album with so many choices of papers, cards and inserts to do a life project on just about any subject. But the recipe version was perfect for this project. Here is one of the first sets of pages in the album. The first recipe is Success. And the main ingredient is Hard Work.

I did some layering from the different collection packs and they all compliment each other to perfection. Mixing and matching with endless possibilities.


I have created a flip card waterfall page, so that my daughter can write down her random memories of what she did in school to stay ahead of the game. And in future pages, I will make these flip cards even wider to fit actual recipes. This book will be filled with her own creations. I love using hearts in my projects, because I feel  it brings a personal warmth to the pages. I just used some corrugated cardboard to cut out my heart and painted it with some shimmering water colors, then tied it using some twine and added a handmade flower. Using the same color watercolor throughout the 2 pages brought the whole page together. I stamped the word Recipes with the wonderful Kraft Alphabet set.


Here is a closeup of the heart on the cover of the flip book. Trends come and go, but I thinks Hearts and doilies will always be around. And the last couple of years I see many projects using doilies. So happy that Bo Bunny has them in 3 sizes. I used the medium and small on these 2 pages.


Here is a closeup showing the flip book opened up. The smaller pieces in the Note Paper pack were perfect for this part of my project.


I love the wooden adornments in the Kraft Collection. I left them in their natural state.
I added a little wooden scrabble G (for my daughters name, Gabriella) in the middle of the smaller clock.I used one of the note pages and punched out some flowers, stacked them and painted the middle with watercolor. I also punched out the leaves and used the same watercolors as in the flowers and corrugated heart.


 For my next set of pages, I chose to use the color gold to bring out the warm hues of the papers.The photo is my daughter, at one of her outings in a new city, grocery shopping after a long day at culinary school.


 The rosettes were die cut and created from the Kraft Gift Bag Newsprint. The leaves were die cut using one of the papers from the  Misc. Me! Avenues Note paper.


  The little note cards found in the same pack, were made into ACT cards. I backed them with thin chipboard, punched out some photo corners using the Kraft Gift Bag Newsprint. This side can be used for writing out the recipe and the opposite side can be used for a photo of the dish. I then slid the ACT cards into the Misc.Me Page Protectors.


Here is a closeup of the rosettes created using the Bo Bunny Kraft Newsprint paper bags. I added the small Bo Bunny Blossom to the larger rosette and set a large rhinestone on the others.


This last set of pages represents the beginning of the journey that took my daughter to Portland Oregon where she attended Le Cordon Bleu School Of Culinary Arts. The photo was taken the day she left home.


I layered the different cards from various packages. I used pop dots under each layer to give the page some dimension. The Bo bunny Blossoms added a sweet shabby chic touch to the page.


I also wanted each page to hold a place to journal a special memory or to document a recipe learned in school. So I created a little flip photo on this page. Using a double sided recipe card, I used one side as a photo mat, and the other side is the recipe card.


This is a view of the photo turned back to reveal the recipe cards. I created the hinges by fussy cutting the banners from one of the smaller cards.


BoBunny Supplies:
Misc Me Binder: The Avenues 
Misc Me Journal Dividers: The Avenues
Misc Me Recipe Contents: The Avenues
Misc Me Note Paper: The Avenues
Misc Me Weekly Contents: The Avenues 
Misc Me Journal Contents: The Avenues
Misc Me Page Protectors

Cardstock: Dark Denim Stripe
Kraft:Wood Clocks
Kraft:Wood Alphabet Stamp Upper Case
Doilies: Medium 6.5", Small 4"
Blossoms: Natural Earth Dahlia 

Other supplies used:
Tim Holtz/Sizzix Rosettes Die
Cottage Cutz Leaves die
Martha Stewart Photo Corner Punch
EK Success Daisy punch
LuminArte Twinkling H2O
Tim Holtz Distress ink in Vintage Photo
Splash Of Color Viva Colour Inka Gold Metallic rub in Gold. 


Friday, February 14, 2014

Framed in Love...

Framed in Love...

I am soooo excited to be blog hopping with Splash Of Color and Die-Namites!!! 2 Days of absolute LOVE Inspiration!!!!

DNDSOCBH

MAKE SURE TO LEAVE COMMENTS 
on each of the Splash of Colors Design Team Members 
posts that will be featured ALL DAY TODAY!
Splash of Color and Die~Namites Dies
will be giving away randomly chosen prize packages
equaling $25 each!
Luminarte
Dndphoto

I used the Cotswald Manor Collection from Splash of Color for my layout. It is absolutely gorgeous!!! I got a little inky with Silks for my splashes and splatters.

DSC_3023

For my photoframes, I used 2 different Die-Namites dies and combined them for a beautiful frame. Rose Bouquet DN-1120, and Elegant Heart FrameDN-1127.
I just cut the bow off of the bottom of the Rose Bouquet and placed the flowers on the top of the Elegant Heart Frame and the bow portion on the bottom.
DSC_3024

I fussy cut one of the pages of the paper and used it in the corner of my layout. I used Viva Colour Inka Gold Metallic Rub in Lava Gold for my Heart Frames and the buds on the Rose bouquets. Then I covered evrything with the Viva Colour Magic Transparent Perfect Pearl Pen. I colored the bow porion with Luminarte Silks Acrylic Glaze in African Jade. I also used African Jade as a color wash around the layout.
DSC_3026

The butterflies are from Iron Orchid Designs Die Cut Shape pack. I just smeared some Viva Colour Magic Transparent Perfect Pearl Pen on them for shine.
DSC_3027

Thank you for stopping by and hopping along with us!!
Now head on over to the VERY talented Lynne Forsythes Blog
to continue your journey on this fabulous hop!!
And just in case you get lost on your journey, Here is the line up!!

Die~Namites Dies has a new release full of wonderful
Love Inspired Dies which will be showcased
by their Die~Namites Guest Designers. Including me!!

Be sure to take a moment to like
Die~Namites Dies and Splash of Color on Facebook!

DON'T FORGET to leave a comment
to be in the Random Drawing and
to stop  by the Splash Of Color Blog for more
LOVE INSPIRED CREATIONS!

Tuesday, February 4, 2014

A Blue Fern Garden layout, Tiny Mini, and a journaling entry.

Hi there! I will be sharing with you 3 different projects. A 12x12 layout, a tiny mini and a journaling entry to my Mixed Media journal book. The Blue Fern Garden paper line by Blue Fern Studios is just my style. I love the colors, the patterns and the images of the vintage roses are my favorite!!
Here is my 12x12 layout.


 I used  the Tattered Diamond Bits scattered over the layout. and to frame the photo, used the Beaded Strings to frame the photo. Both were painted with white acrylic paint then sprayed with Splash Of Color Radiant Rains Mist while the paint was still wet. I added some pearls to the little circles on the frame. 

I did the same paint and mist treatment on the Memory Frames. When the acrylic is still wet, and it is sprayed, it leaves a gorgeous weathered look on the chipboard.


My dads cousin was going through old photo's and came across this one of me when I was about 3 years old. Here is a closeup of the frames photo.


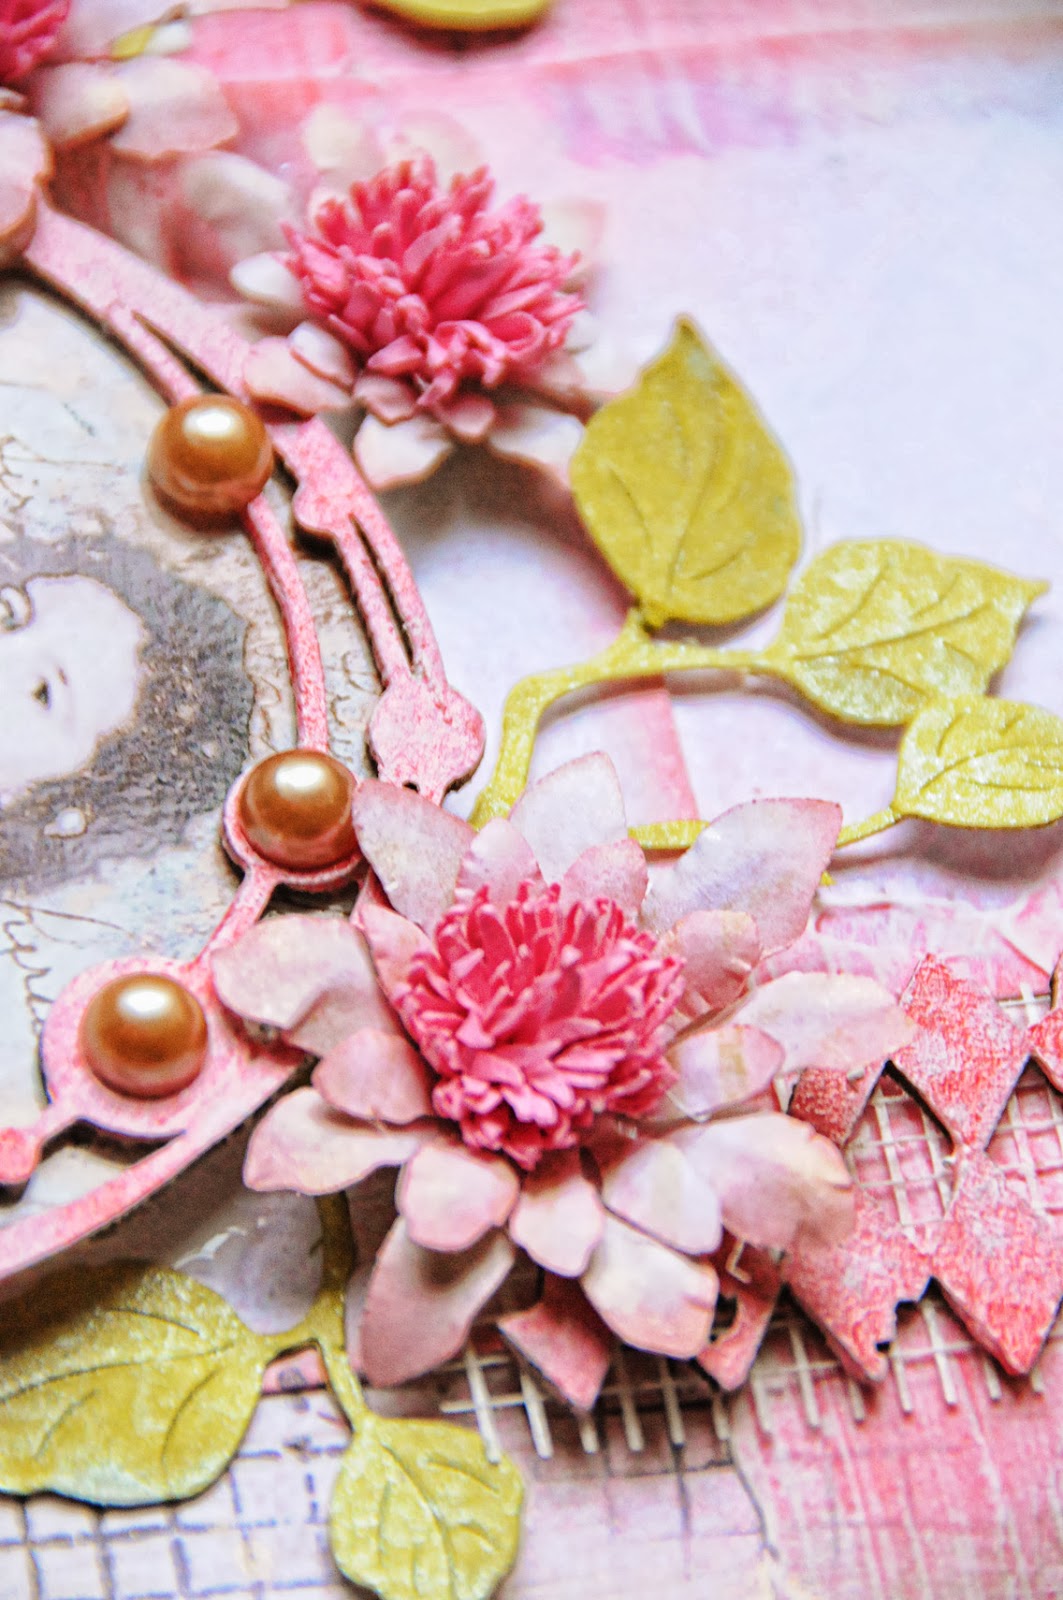
  I created the flowers with a Sizzix Susans Garden die, and the middle was created using McGills Sun punch to create the little pom pom flowers.  They remind me of my favorite Red Clover flowers. The leaves are a CottageCutz die. I cut them apart to make smaller leaf clusters.


The next project I would like to share with you is my tiny mini. I adapted the pattern from a couple of Post It Notes Covers that I did a couple of years ago. The difference is I created pages for the inside using the beautiful Blue Fern Garden paper rather than using Post It Notes.


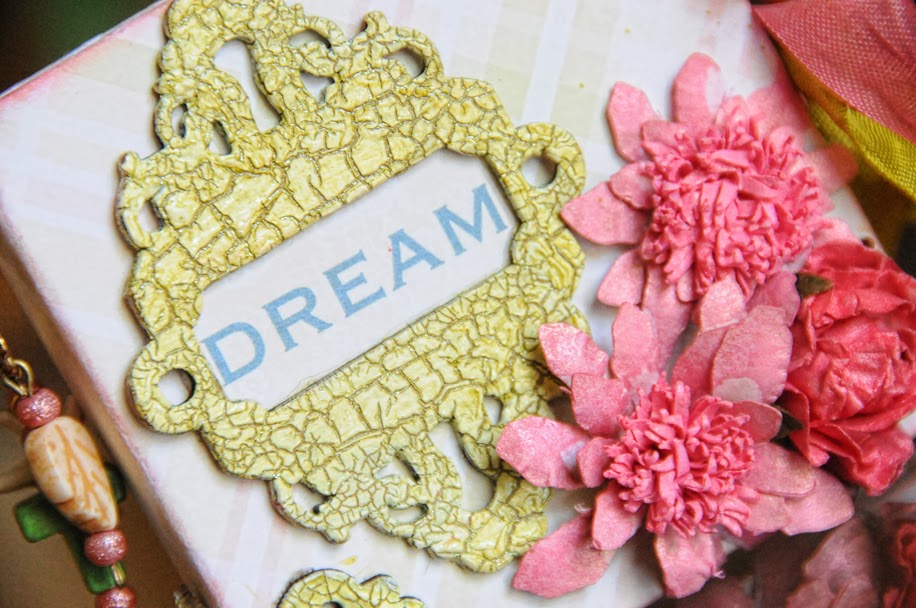
I used Splash Of Color Viva Color Crackle paint on the Iron Works Accents. Once the the paint dried and crackles, I painted Silks Acrylic Glaze in Olive Vine over it. I wrapped the piece of chipboard over around the book binding before painting to prevent cracking.


Here is the detailed chipboard wrapped around the book binding. I created a small charm to hang from the eyelet I punched on top of the mini before I place the inside pages in.


Here is a close up of the cover frame. I think everyone should have a little  Dream book. I created the flowers and used the extra ones I had created for my layout.


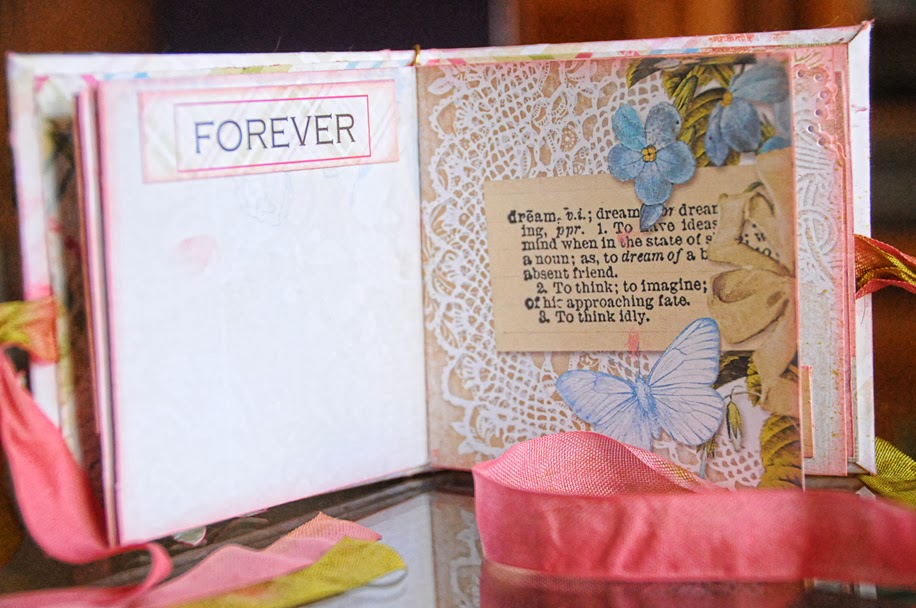
Here is peek inside the book. I fussy cut some of the paper to get the images centered perfectly. Then cut out all of the words in back of the paper and used them on each of the pages in the mini.


I used a corner punch on some of the pages in the mini.


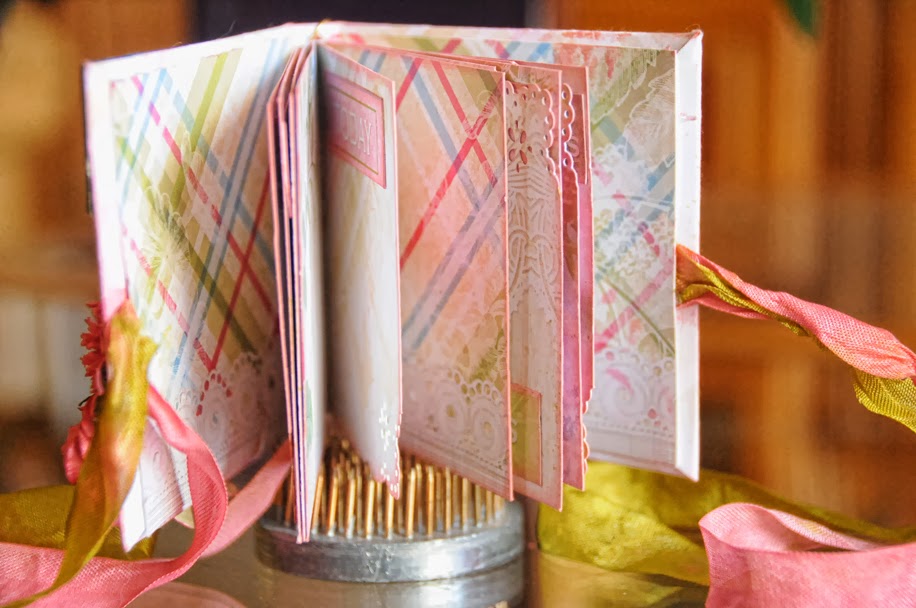
Here is a close up of the mini with the seam binding ribbon closure. I used Silks acrylic paint to color the seam binding.


And finally I created another journal entry for my mixed media journal I am working on. I used the February sketch and took some of the elements in the design and applied it to the pages.


 This next project is another entry to my mixed media journal. Although it isnt heavy mixed media, I enjoyed doing another entry to the journal.


 This is the left side of the journal entry.


 This is the right side of the journal entry.


I painted the Berry Stems with Silks acrylic paint and after it dries, I dotted the tiny circles with glue and sprinkled microbeads of the glue. Once it dried, I sprayed a clear acrylic sealer over the entire chipboard in place to secure the beads.


Here are 2 of the smaller Berry Stems in the set.


The Always and Forever chipboard quote is treated the same way I did the Iron Work Accents in the mini.


For the 2 hearts from the Heart Set, I painted it with white acrylic paint and then sprayed them with Radiant Rains Shimmering Mist in Grapefruit Pink while the acrylic paint is still wet.

Thank you for stopping by to see my projects this month. The Blue Fern Garden paper collection is my all time favorite right now!!! I adore each and every piece and design!!